Step 1. Connect Guide Camera to OAG
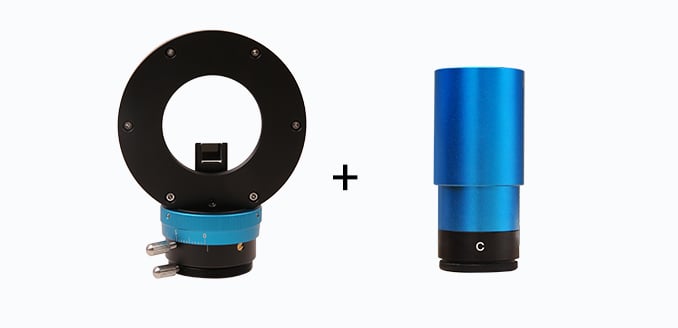
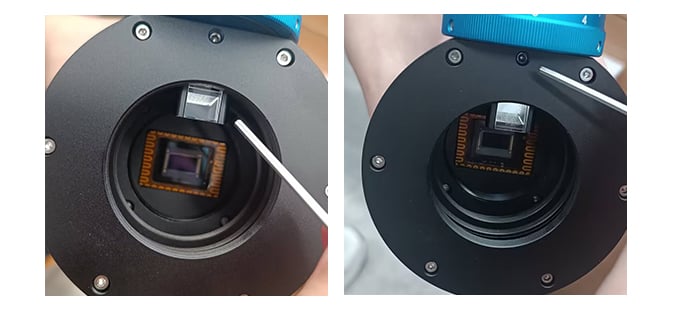
Ensure the guide camera's sensor is aligned with the direction of the prism.
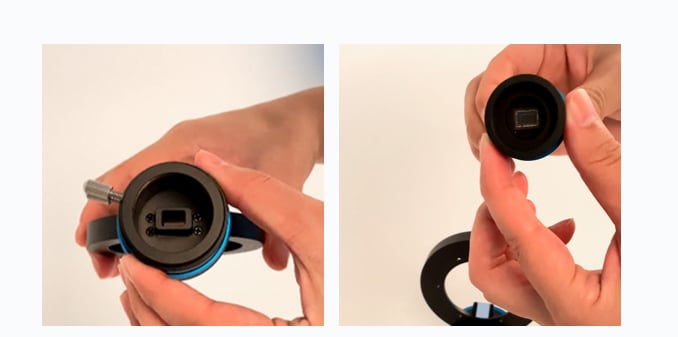
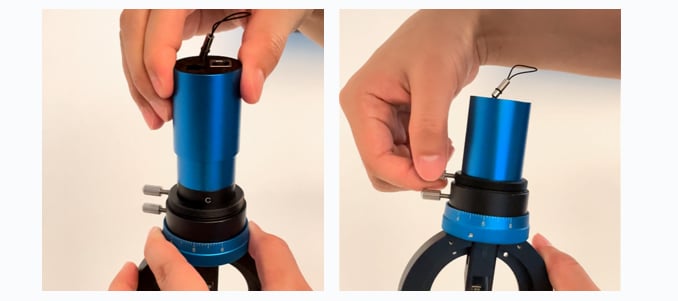
Attach the guide camera to the OAG guide focuser and secure it in place.
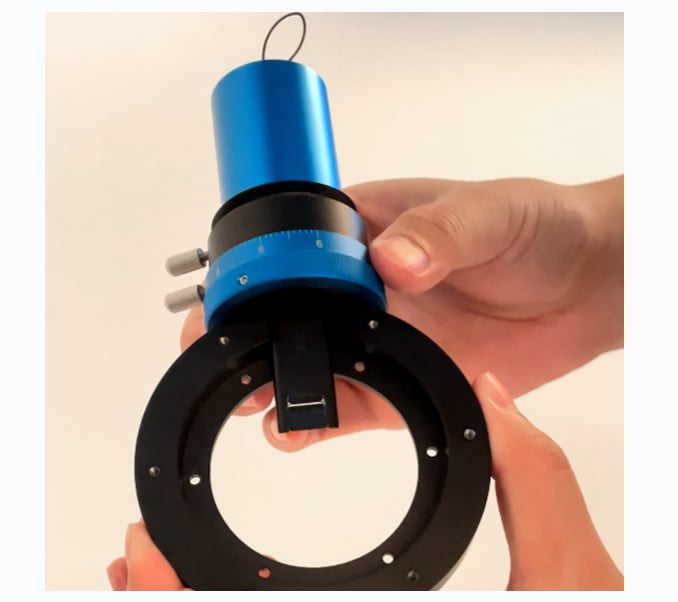
Step 2. Attach Extender to Camera
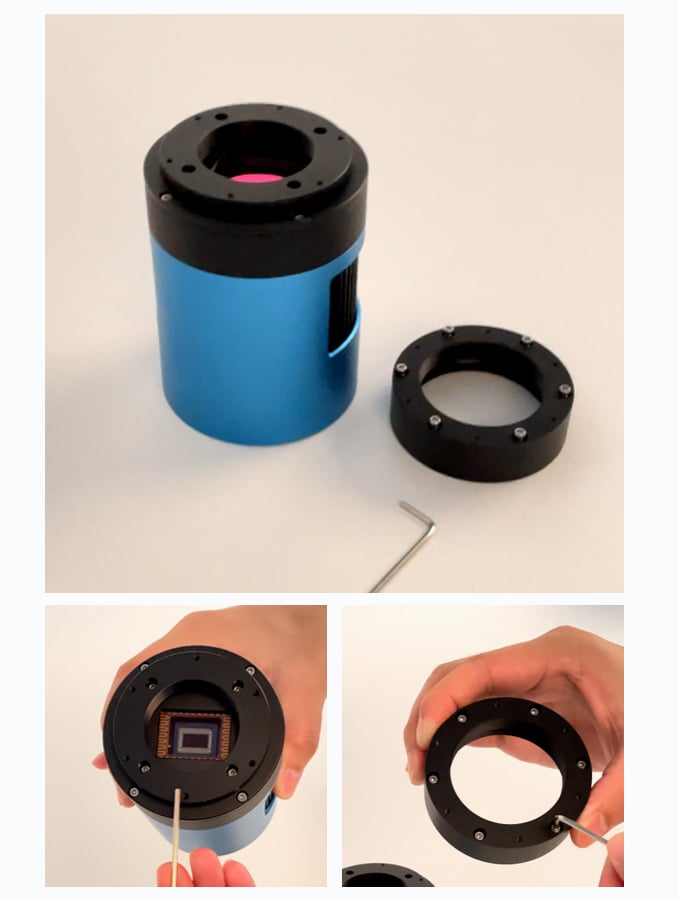
Align the extender with the corresponding screw holes on the camera. Use six M2.5 x 20 mm cup head screws to secure it.
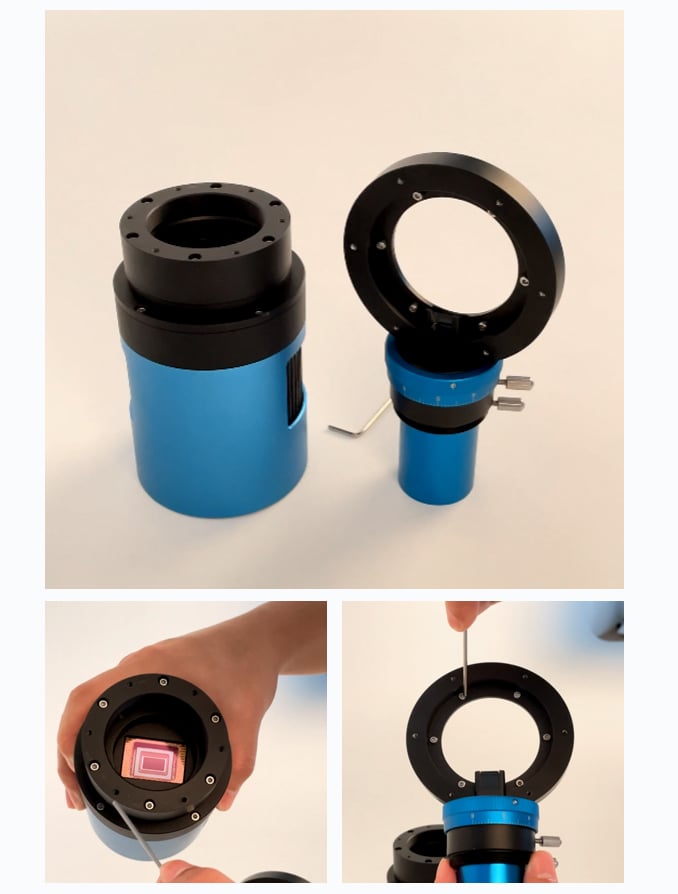
Step 3. Attach Extender to OAG
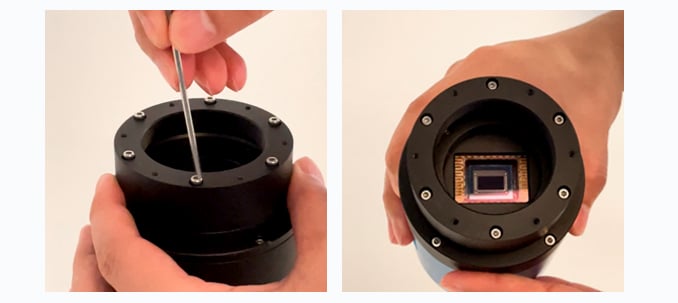
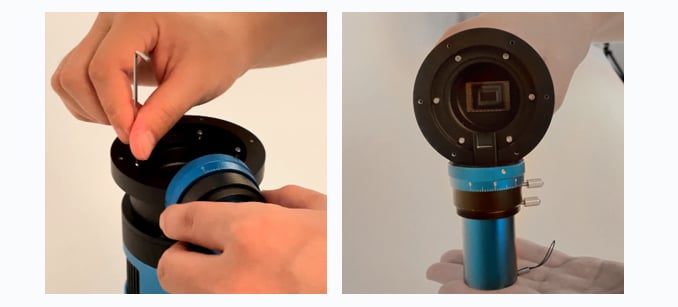
Ensure the prism does not obstruct the camera sensor, then secure with six M2.5 x 6 mm cup head screws.
Step 4. Connect the OAG Front Cover
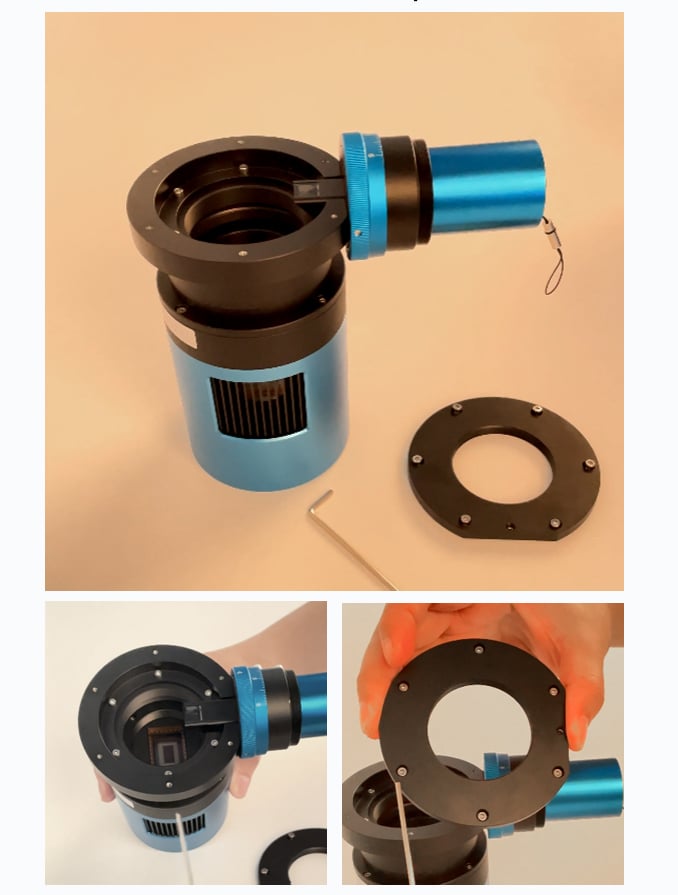
Align the front cover with the screw holes on the OAG and tighten the screws.
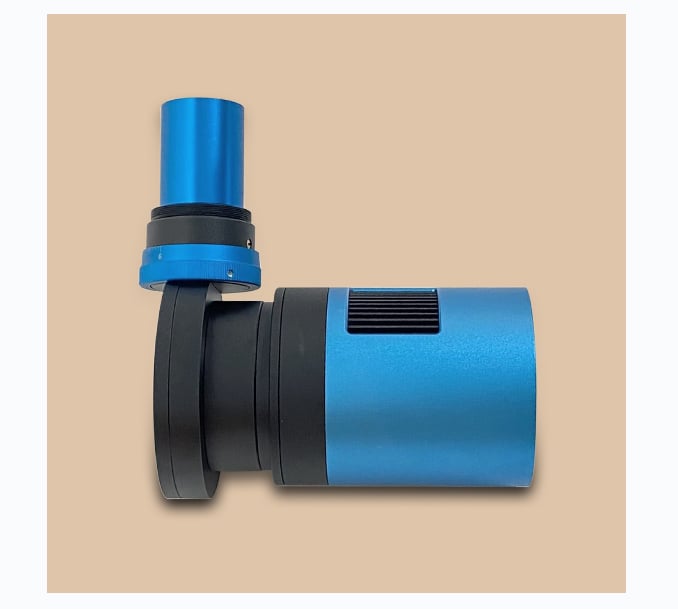
Adjust the prism position by loosening and tightening the top screw of the OAG to prevent the prism from blocking the camera sensor.
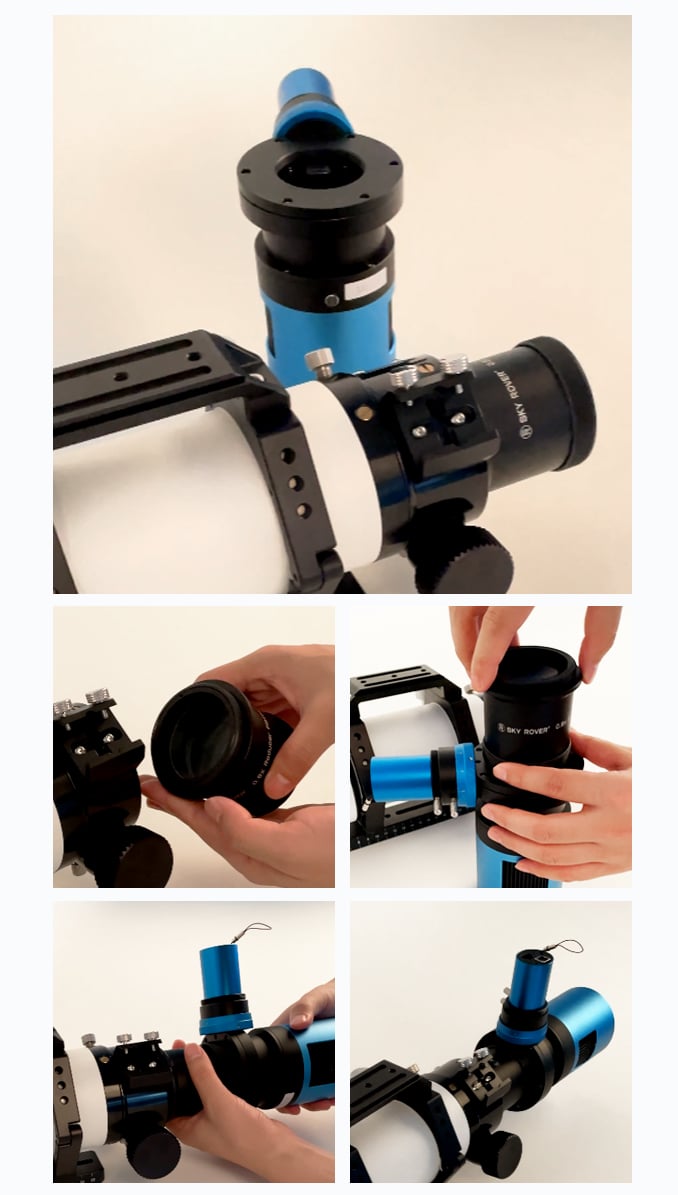
Step 5. Connect the Telescope
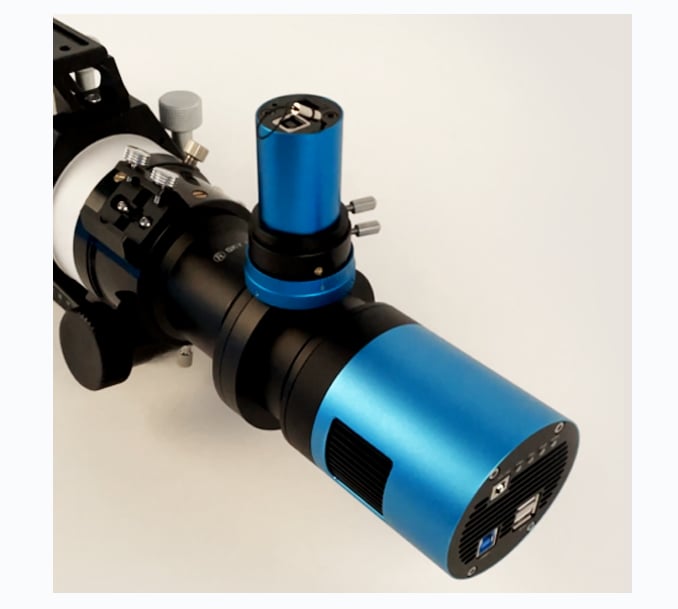
Select the appropriate adapter (M48, M54, or M68) for the telescope. Use six short screws to connect the adapter to the OAG first, and then connect the whole assembly to the telescope.