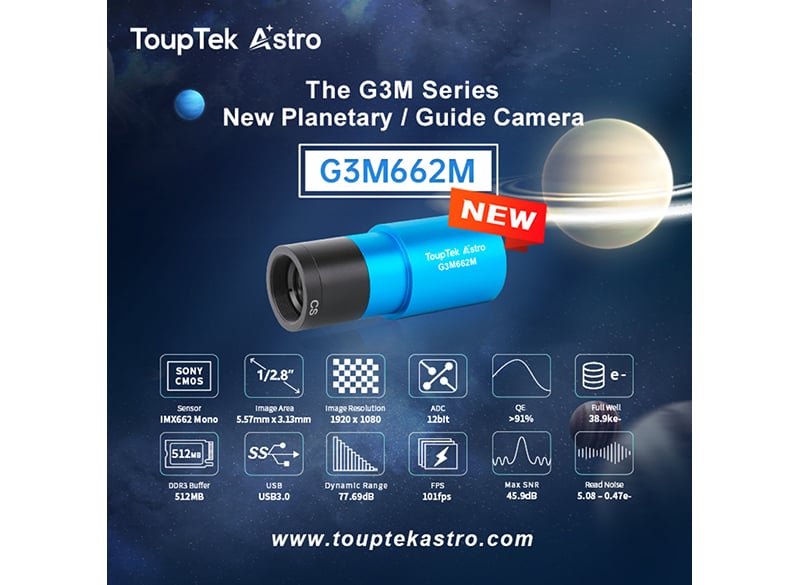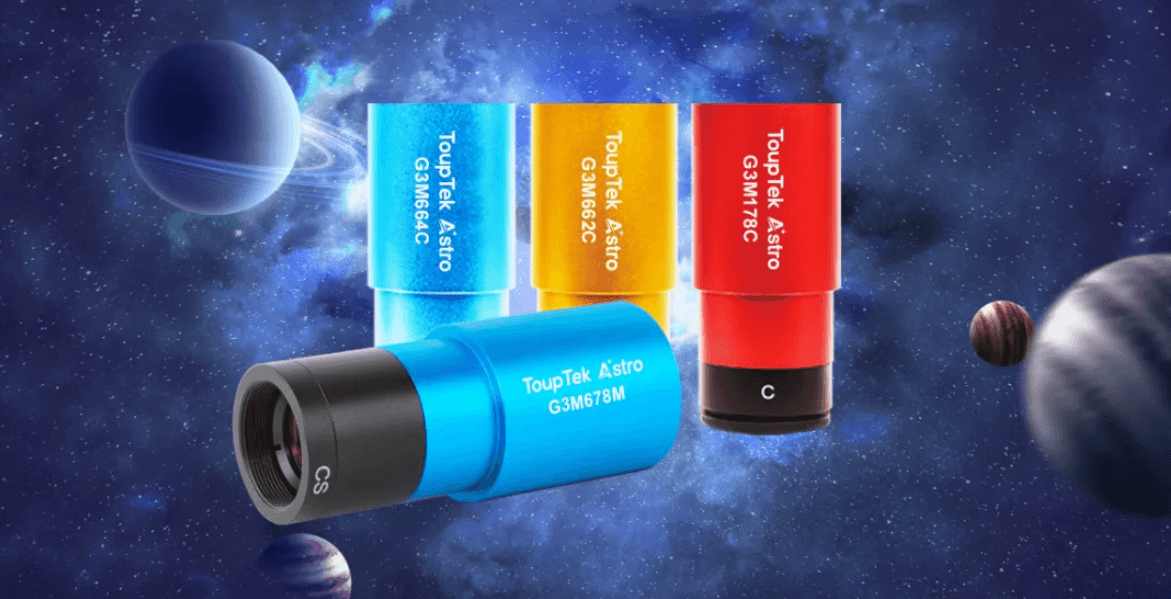
This quick start guide helps users get started with ToupTek Astro G3M series planetary and guiding cameras, including their structure, installation, and basic software connection steps.
Planetary cameras are typically used to observe solar-system objects such as planets, the Sun, the Moon, asteroids, space stations, and satellites. They can also be used for lucky imaging of deep-sky targets such as small planetary nebulae by recording video and later filtering, aligning, and stacking the frames.
A guide camera is important for deep-sky photography. By capturing and analyzing star points, it helps the equatorial mount correct tracking errors during single-frame, long-exposure imaging.
The ToupTek Astro G3M series combines guiding and planetary imaging functions. The cameras use a USB 3.0 high-speed port and are suitable for both planetary photography and guiding workflows.
01 Structure and Interface
Each G3M series camera model is available in two body types: short type and long type.
- The default back focal length of the short type camera is 17.5 mm with a C-type adapter.
- The default back focal length of the long type camera is 12.5 mm with a CS adapter.
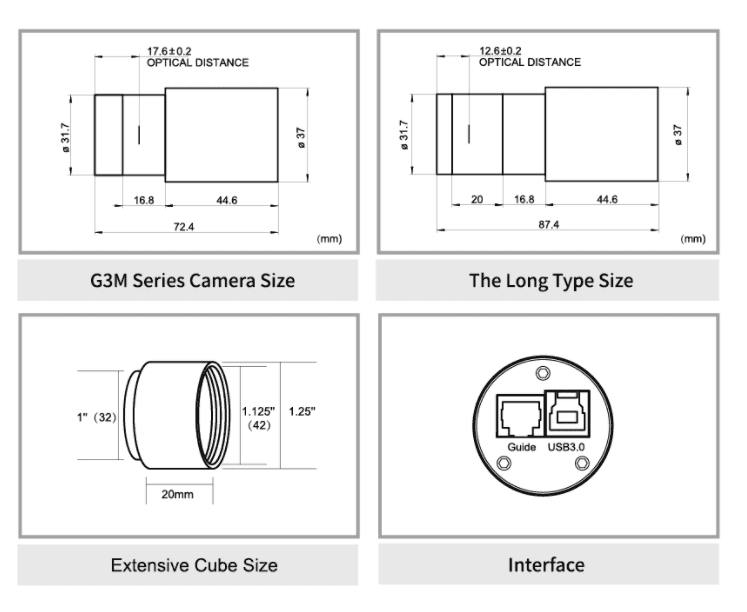
The front of the G3M camera includes a CMOS sensor and a front protective window. The color camera is equipped with an IR-cut filter (380-690 nm) by default, while the monochrome camera comes with AR anti-reflection glass (380-1100 nm).
The back panel includes a USB 3.0 Type-B port for connecting to AstroStation or a computer for imaging and guiding, plus an ST4 port for connecting to an equatorial mount for guiding.
Note: The long type of the G3M camera is compatible with more OAGs (Off-Axis Guiders), providing a larger focusing range. This is especially useful when using an OAG for guiding focus. Unless there are specific requirements, the longer type is recommended.
The standard 1.25-inch extension tube can extend the focus range of the G3M camera on the main telescope or guide scope when needed. The front end of the extension tube can also accommodate a 1.25-inch filter.
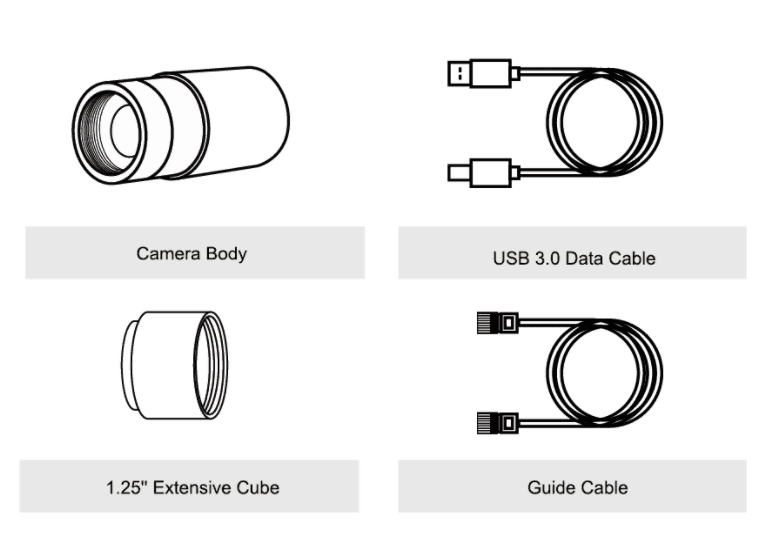
02 Packing List
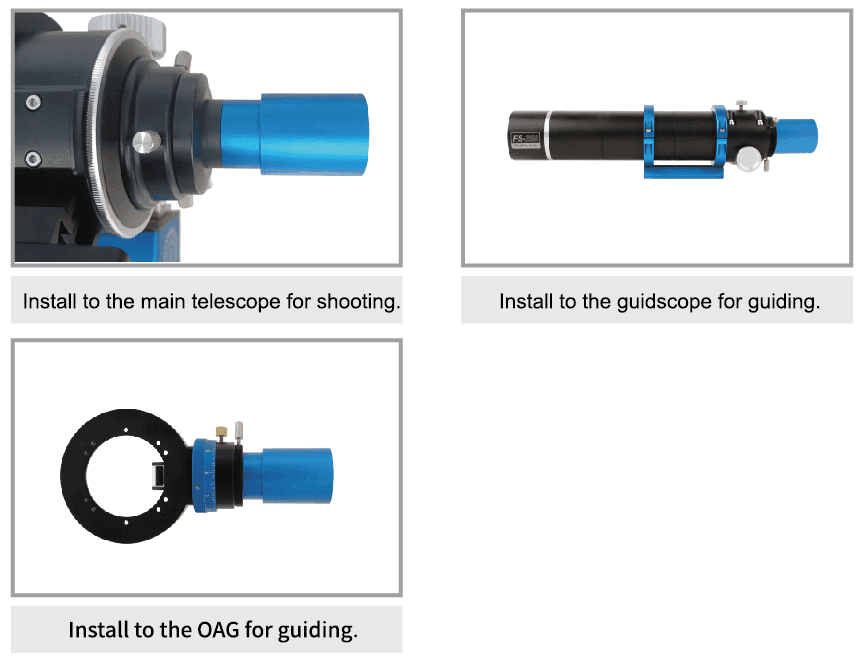
03 Installation
04 Connect the G3M Series Cameras to ToupSky (Windows) for Planetary Photography
G3M662C Example
- Software acquisition: Visit the ToupTek Astro download center and download ToupSky from Desktop App - Windows. The software can be used without an additional driver download.
- Hardware connection: Use the included data cable to connect the camera to the computer.
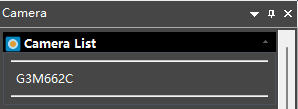
- Open ToupSky. The software automatically detects the connected ToupTek Astro camera. Click the camera name to connect.
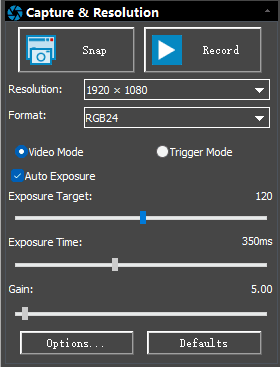
- After connection, the video preview window opens automatically and shows the basic shooting parameters. Adjust video mode or trigger mode as needed.

05 Connect the G3M Series Cameras to SharpCap (Windows) for Planetary Photography
G3M662C Example
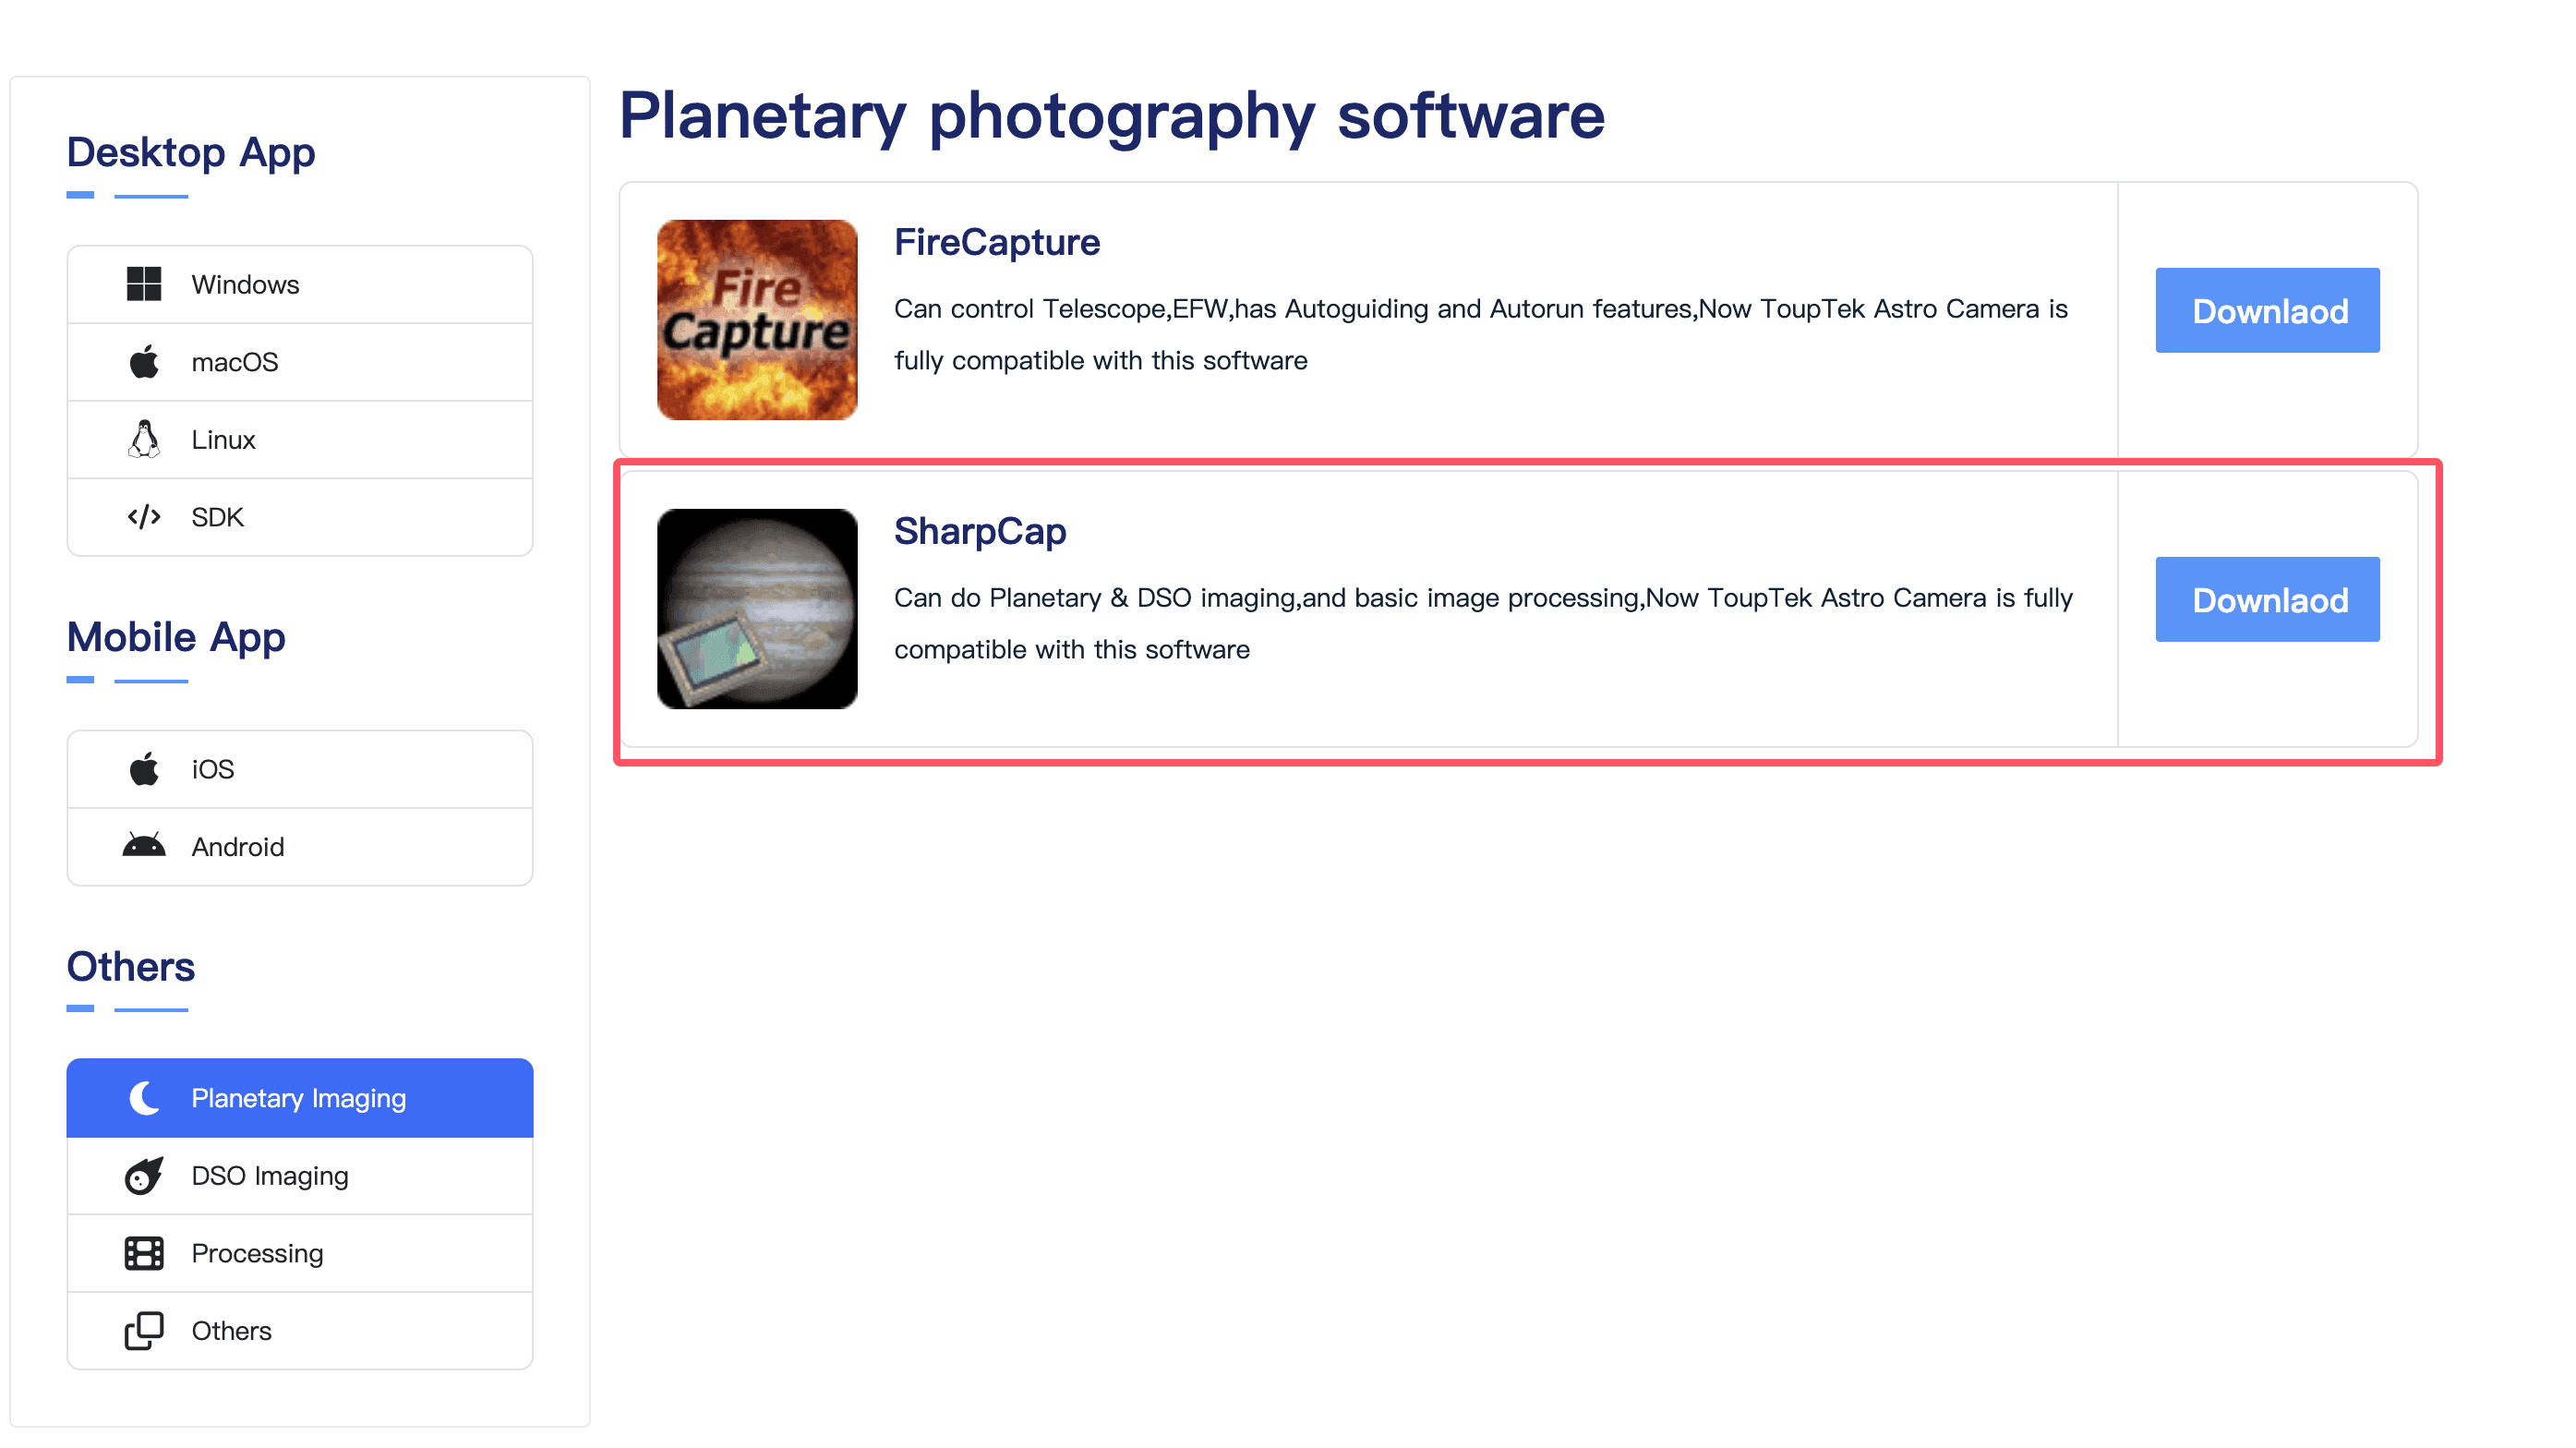
- Software acquisition: Visit the ToupTek Astro download center to get the SharpCap download link under Others - Planetary Imaging. The software package includes the ToupTek Astro Camera local driver.
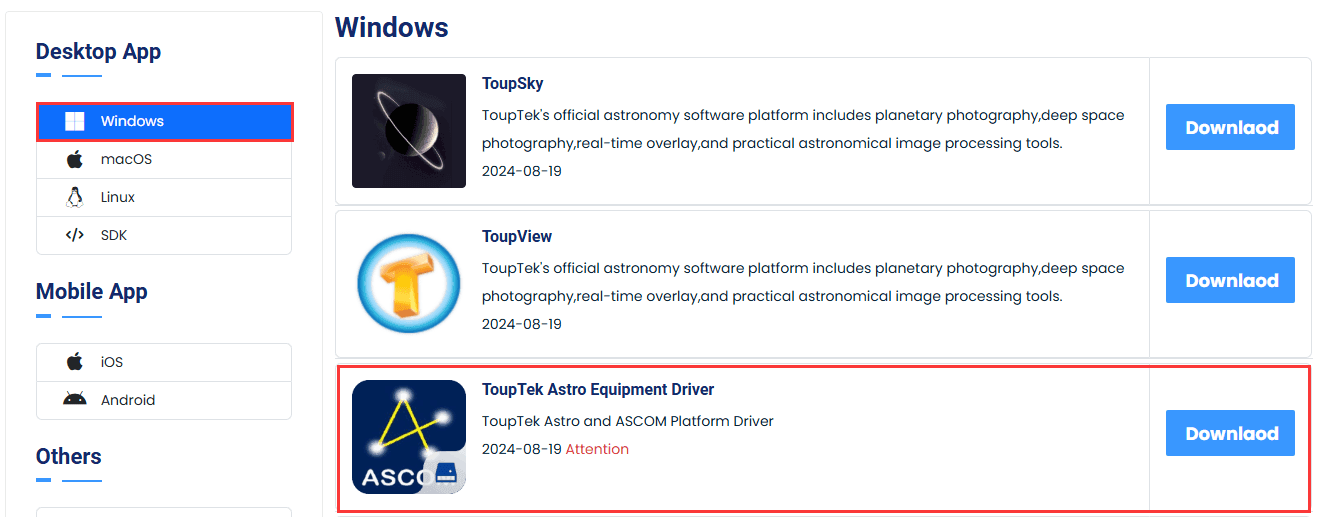
- Driver update: Visit the ToupTek Astro download center and download ToupTek Astro Equipment Driver under Desktop App - Windows. The package includes the ToupTek Astro driver and ASCOM Platform driver.
- Hardware connection: Use the data cable included with the camera to connect it to the computer.
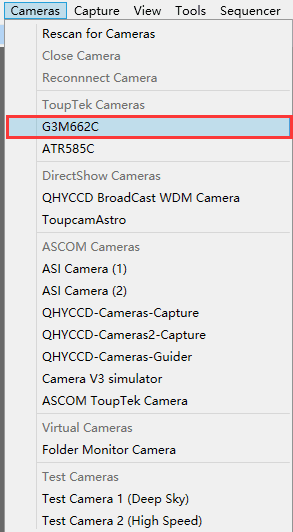
- Open SharpCap. The local driver automatically detects the camera connected to the PC. Select the planetary camera to connect, then adjust shooting parameters in the right control panel.
06 Connect the G3M Series Cameras to PHD2 (Windows) for Guiding
G3M662C Example
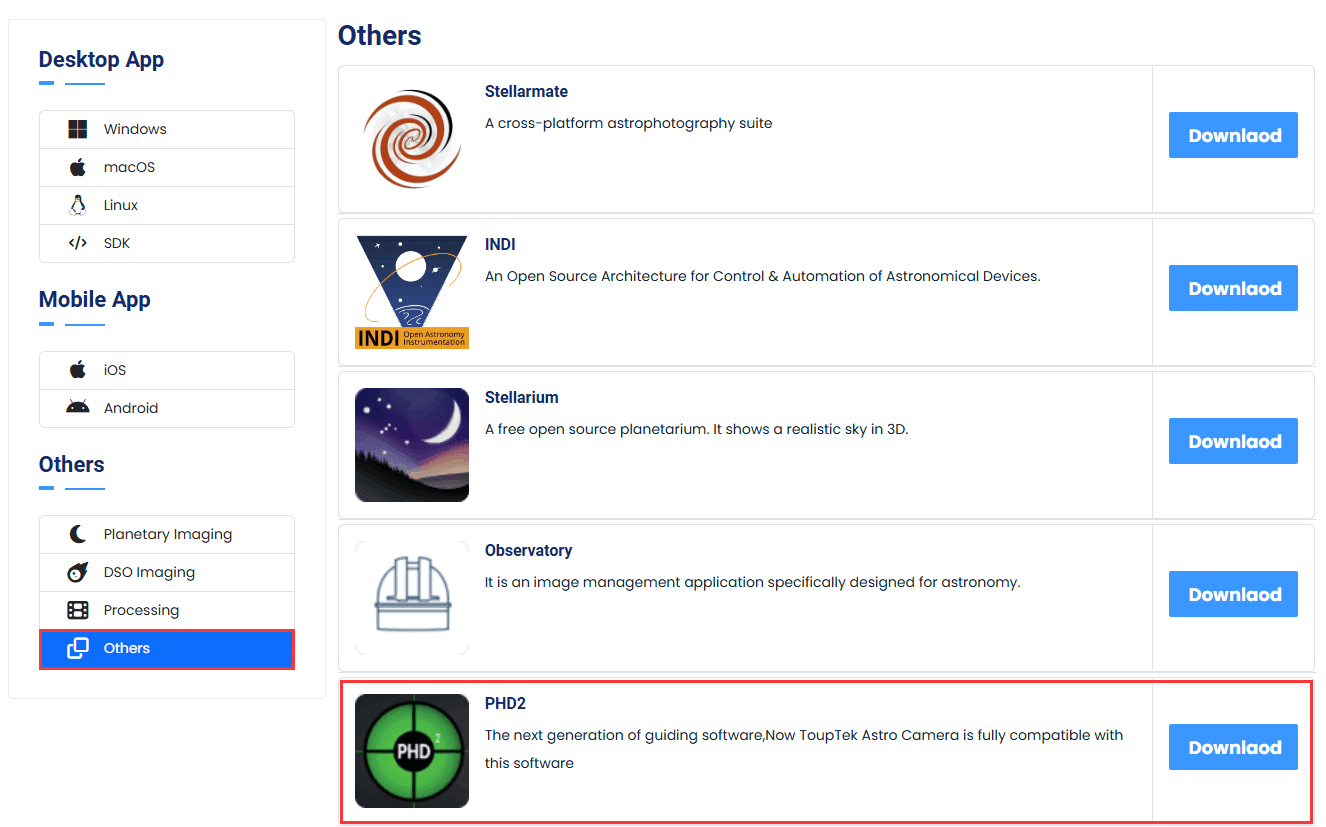
- Software acquisition: Visit the ToupTek Astro download center to get the PHD2 download link under Others - Others. PHD2 includes the ToupTek Astro Camera local driver.
- Driver update: Refer to the ToupTek Astro Equipment Driver update step above.
- Hardware connection: Use the data cable included with the camera to connect it to the computer.
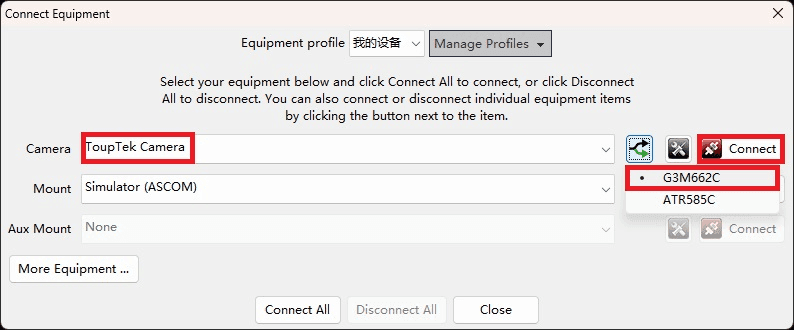
- After finishing the profile wizard, enter PHD2 and select ToupTek Camera. If more than one ToupTek camera is connected, click the double-arrow icon on the right side to select the guide camera you need, then click Connect.
G3M Series Cameras
View the current G3M series camera lineup on the Planetary Cameras page.