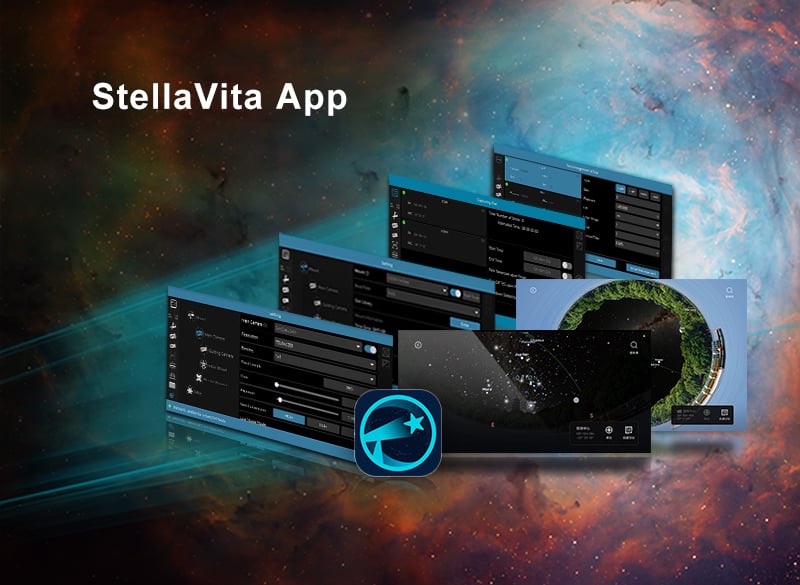
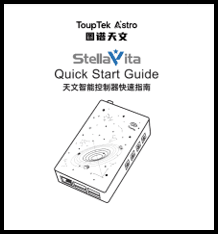
StellaVita, previously known as "AstroStation", is a smart wireless astrophotography controller designed by ToupTek Astro. To provide astronomy enthusiasts with a simpler imaging experience, StellaVita offers an open compatibility ecosystem, supports multiple brands of astrophotography equipment, and gives users freedom in their astrophotography workflow.
After two years of meticulous research and development, StellaVita is ready to meet astrophotography lovers in March 2025. This guide presents the StellaVita unboxing, accessory list, interface overview, and connection guide.
Accessory List
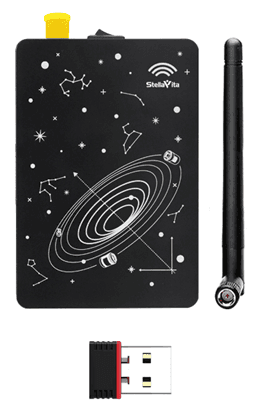
- ToupTek Smart Wireless Astrophotography Controller StellaVita x1, dual-band antenna x1, wireless network card x1
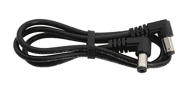
- 0.5 m DC male-to-male power cable x2
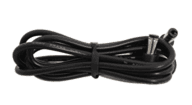
- 1.0 m DC male-to-male power cable x2
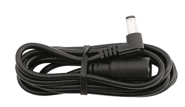
- 1.5 m DC male-to-female extension power cable x1
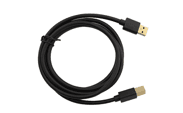
- 1.5 m USB 3.0 Type-A to Type-B cable x1
- Quick Start Guide x1
Interface Overview
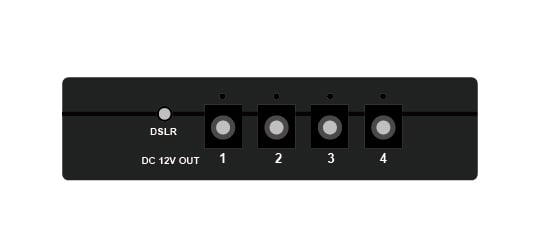
- 4 DC power outputs of 5.5 x 2.1 mm
- 4 DC output indicator lights
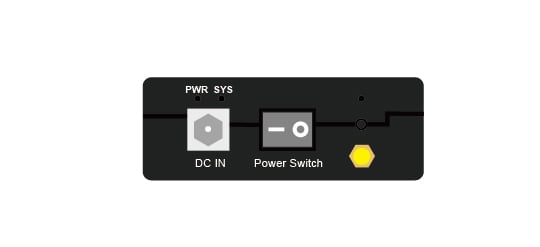
- Power indicator light
- Power switch
- DC power input 5.5 x 2.1 mm
- SYS system indicator light
- Wi-Fi antenna SMA connector
- Wi-Fi reset
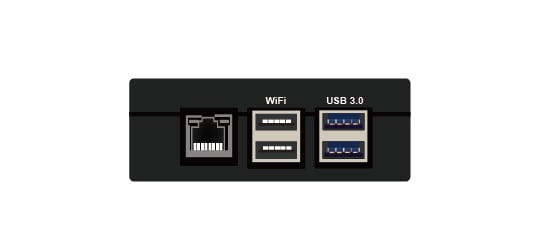
- USB 3.0 x2
- USB 2.0 x2, with the upper interface recommended for the external wireless network card
- RJ45 Gigabit Ethernet port
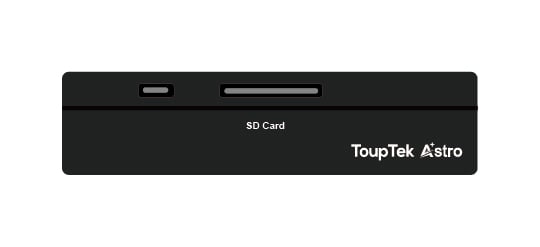
- Type-C port, currently only for firmware burning and not for file transfer
- SD card slot
Connection Guide
Data Transfer Connections
Currently, StellaVita needs to be connected to various devices via USB cables.
Equatorial Mount
Use a USB 2.0 data cable to connect StellaVita and the mount.
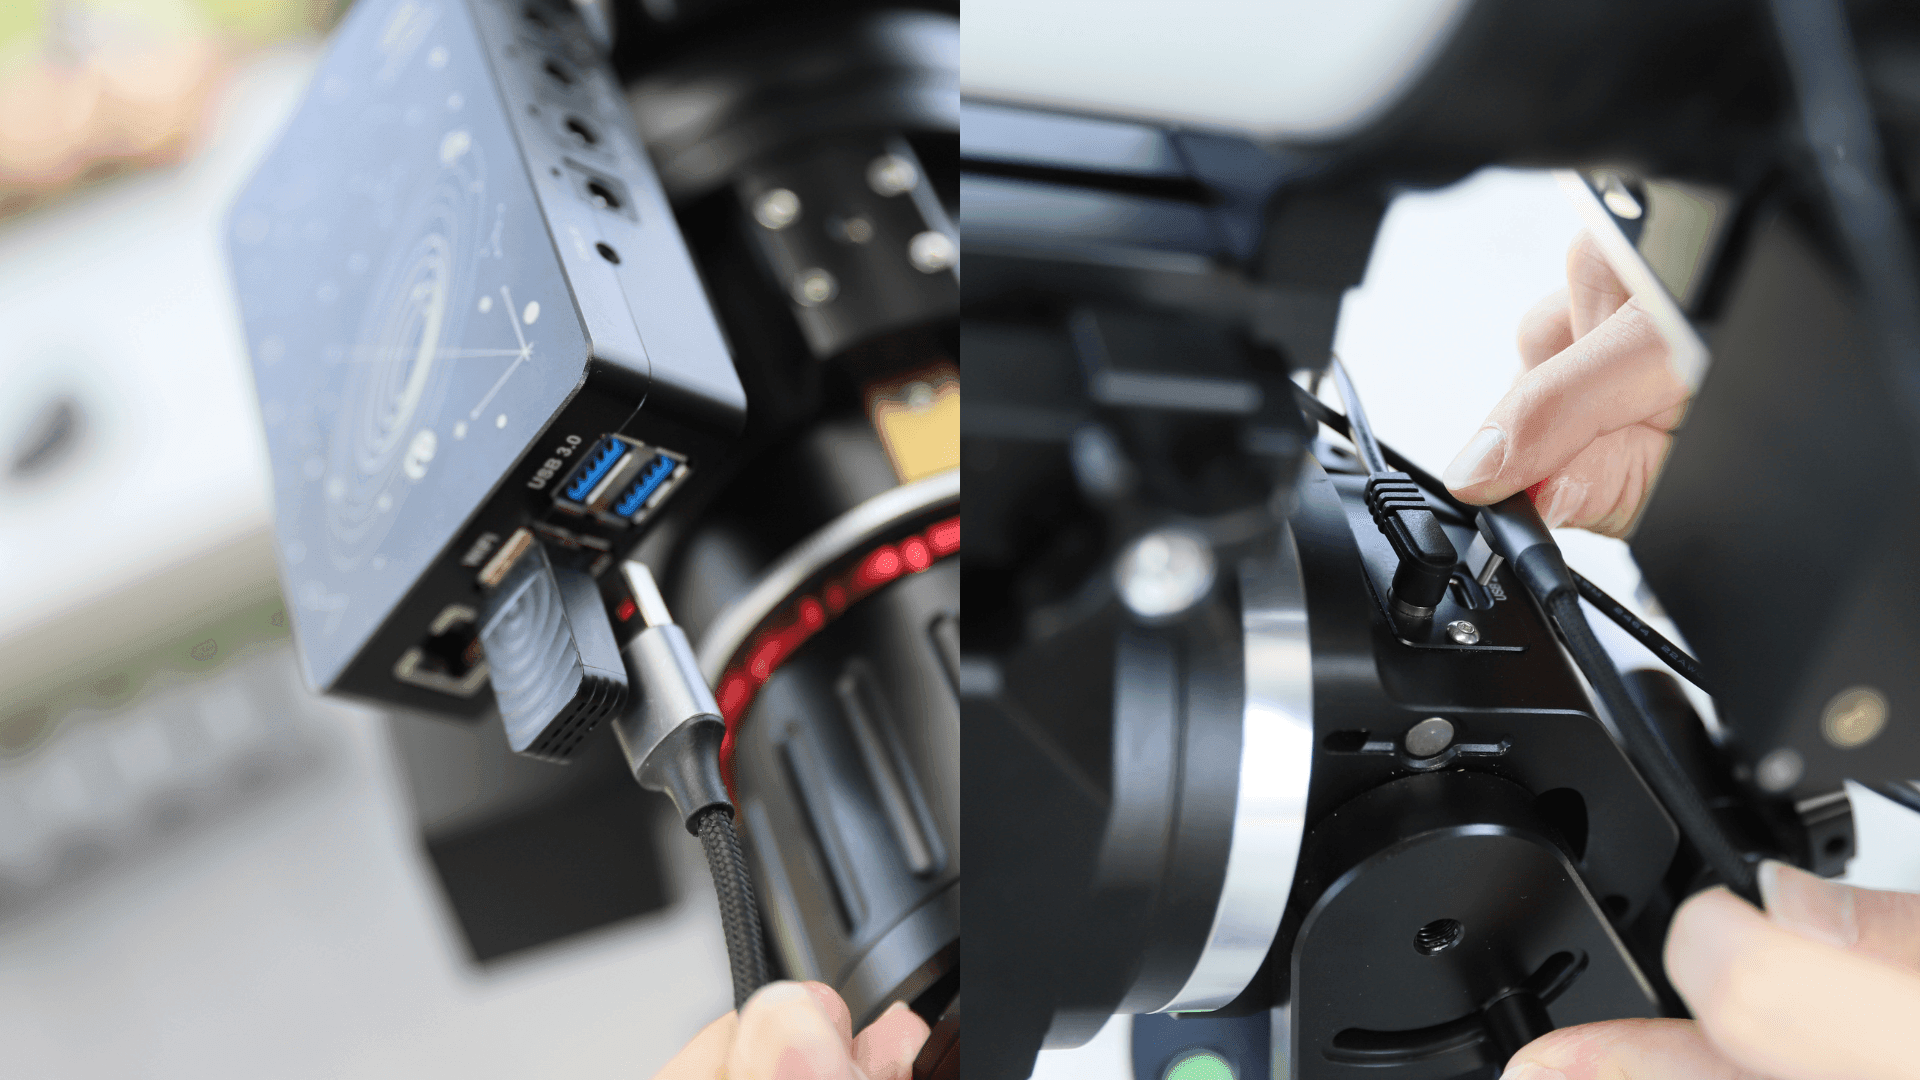
No need to worry about serial port chip recognition issues, as StellaVita has integrated support for most commonly used serial port drivers, including CH340, FTDI, PL2303, CP210, and more.
Since there are many different brands and models of equatorial mounts, we recommend referring to the connection method for the equatorial mount and PC for wired connections. For equatorial mounts from different production stages, the following connection methods are recommended:
- Older equatorial mount: RS232 equatorial mount connection cable to RS232-to-USB serial cable to StellaVita
- Older equatorial mount: USB serial cable to StellaVita
- Newer equatorial mount: standard USB cable to StellaVita
Main Camera
Use a USB 3.0 data cable, recommended, or a USB 2.0 data cable to connect the main camera to StellaVita.
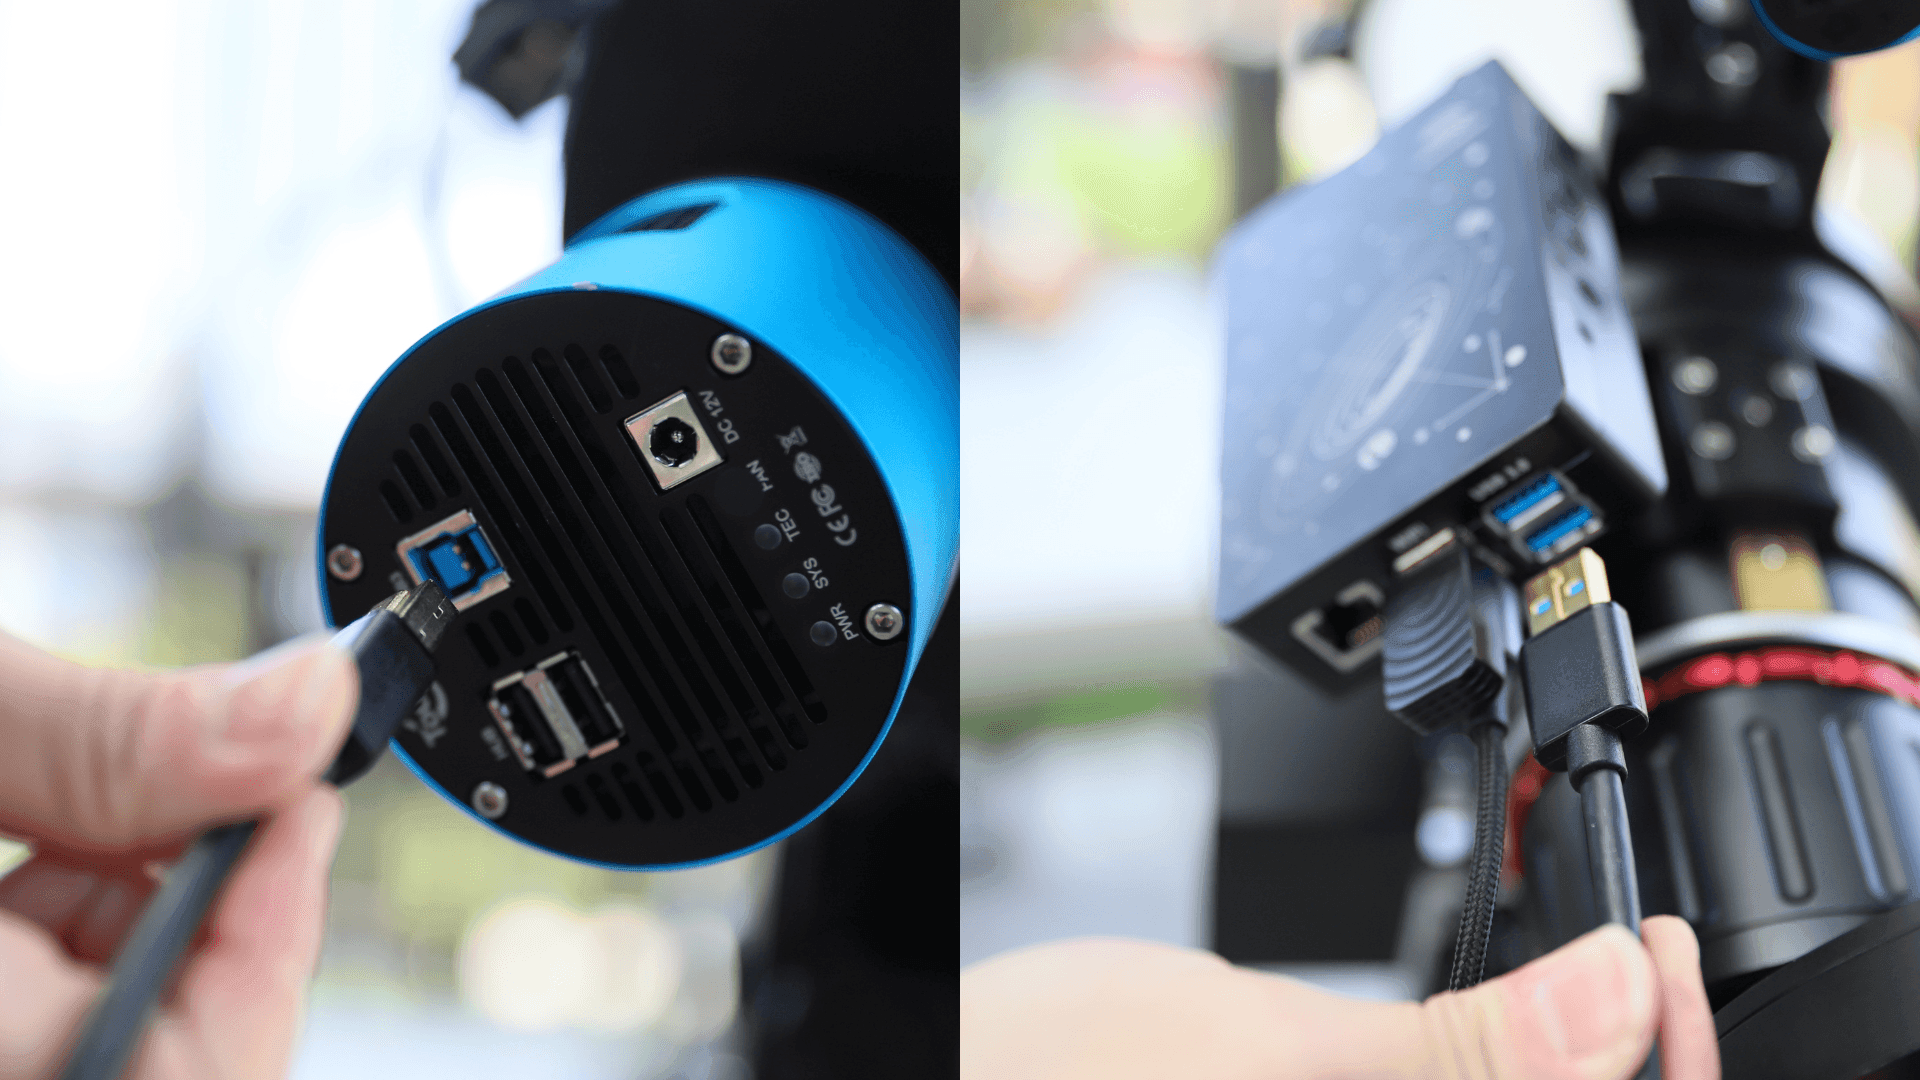
StellaVita supports USB hub expansion. When connected to certain deep-sky cooled cameras, the camera's USB interface can also function as a data interface.
Avoid using multiple layers of USB hubs for data transfer, as this may reduce connection stability and transfer speed.
Electric Focuser
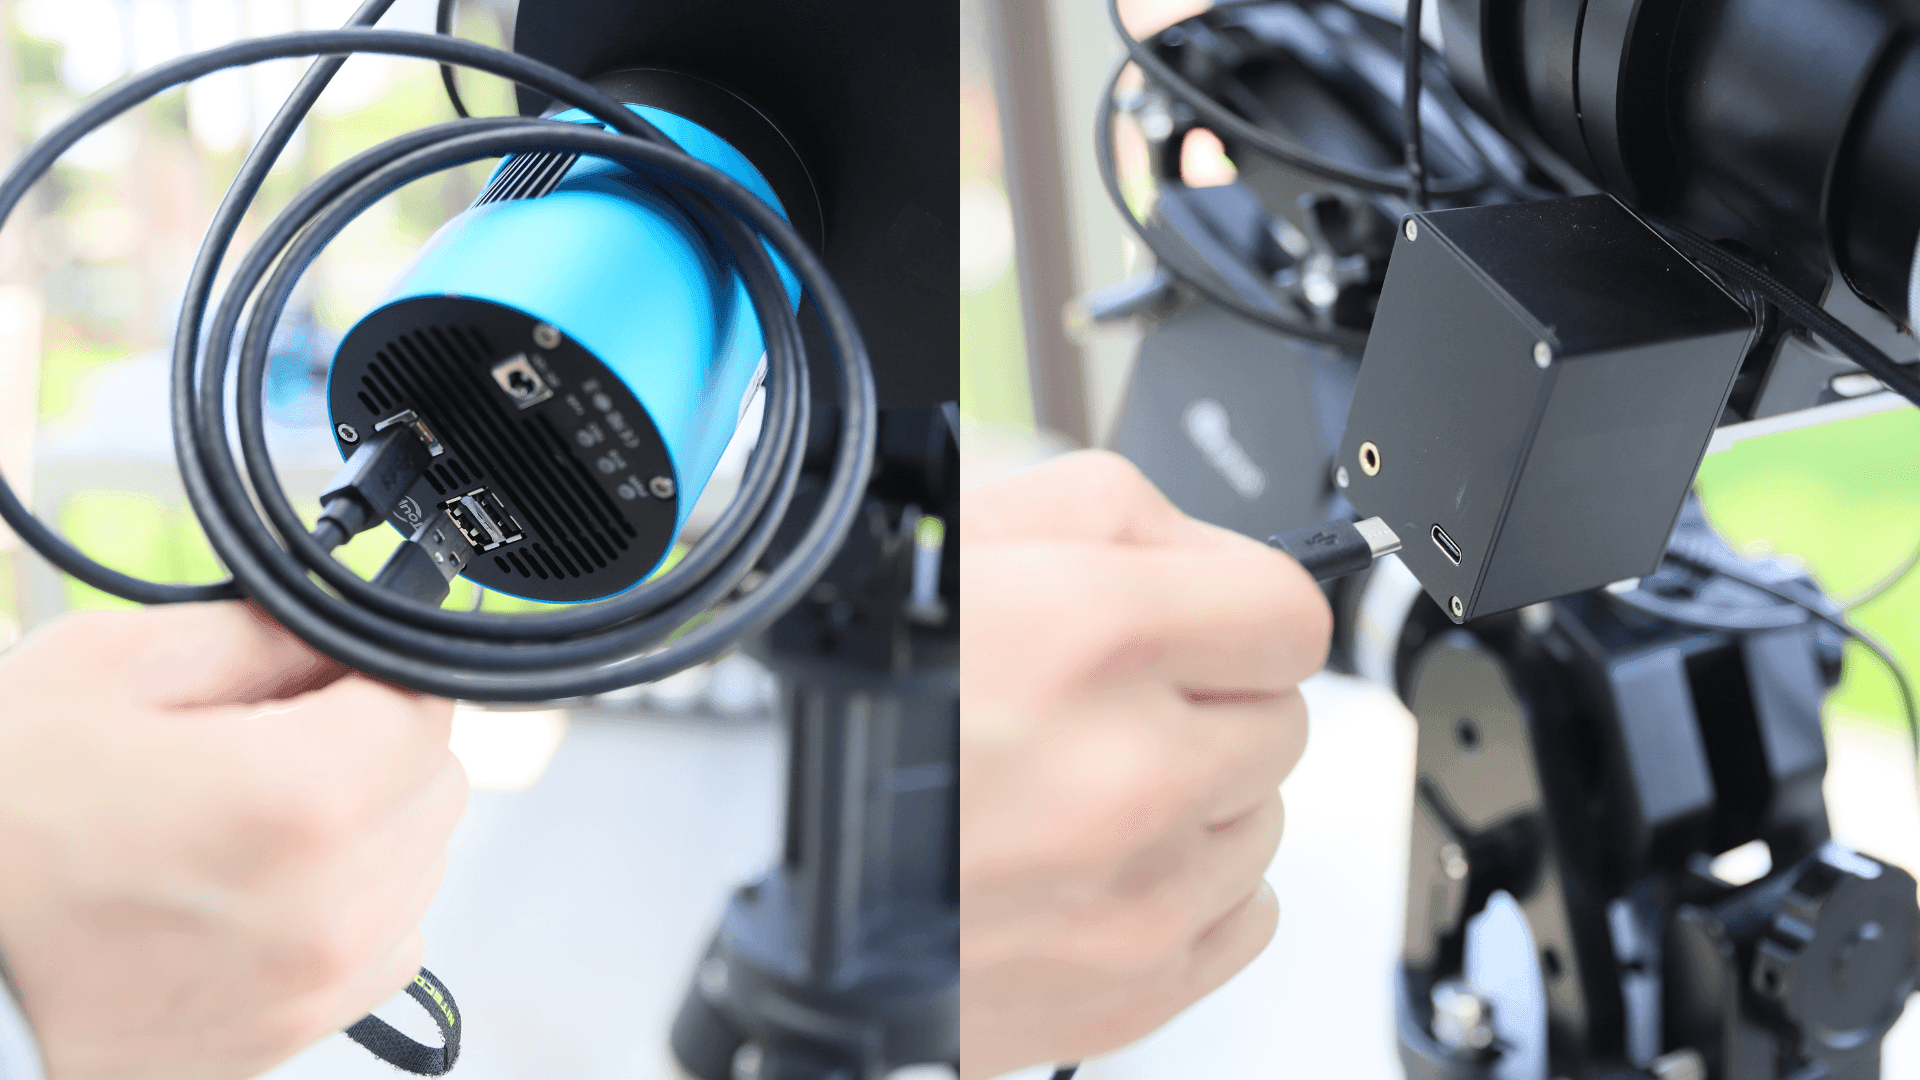
Use a connecting cable, USB-A to Type-C, to connect the electric focuser to the USB hub of the main camera or StellaVita.
Electric Filter Wheel
Use a connecting cable, USB-A to USB-B, to connect the electric filter wheel to the USB hub or StellaVita.
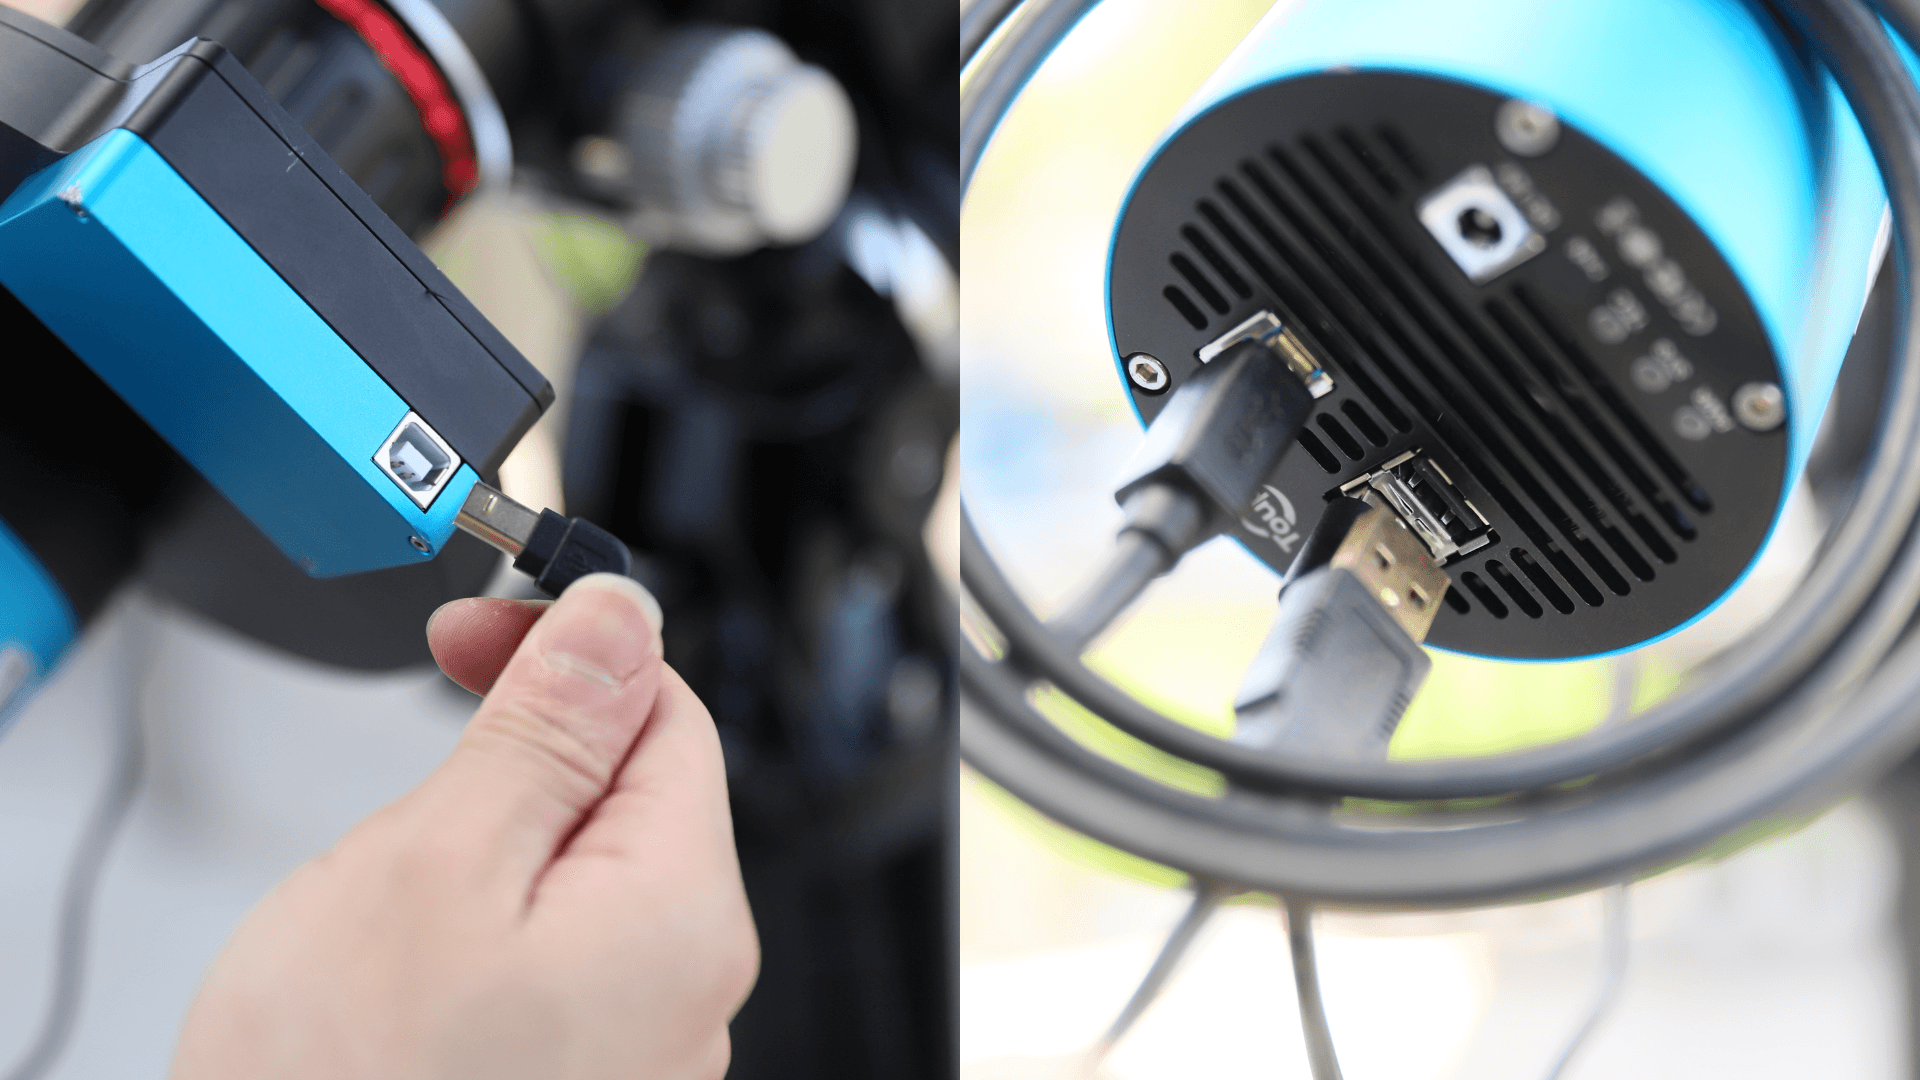
Guide Camera
Use a connecting cable, for example USB-A to Type-C, to connect the guide camera to StellaVita.
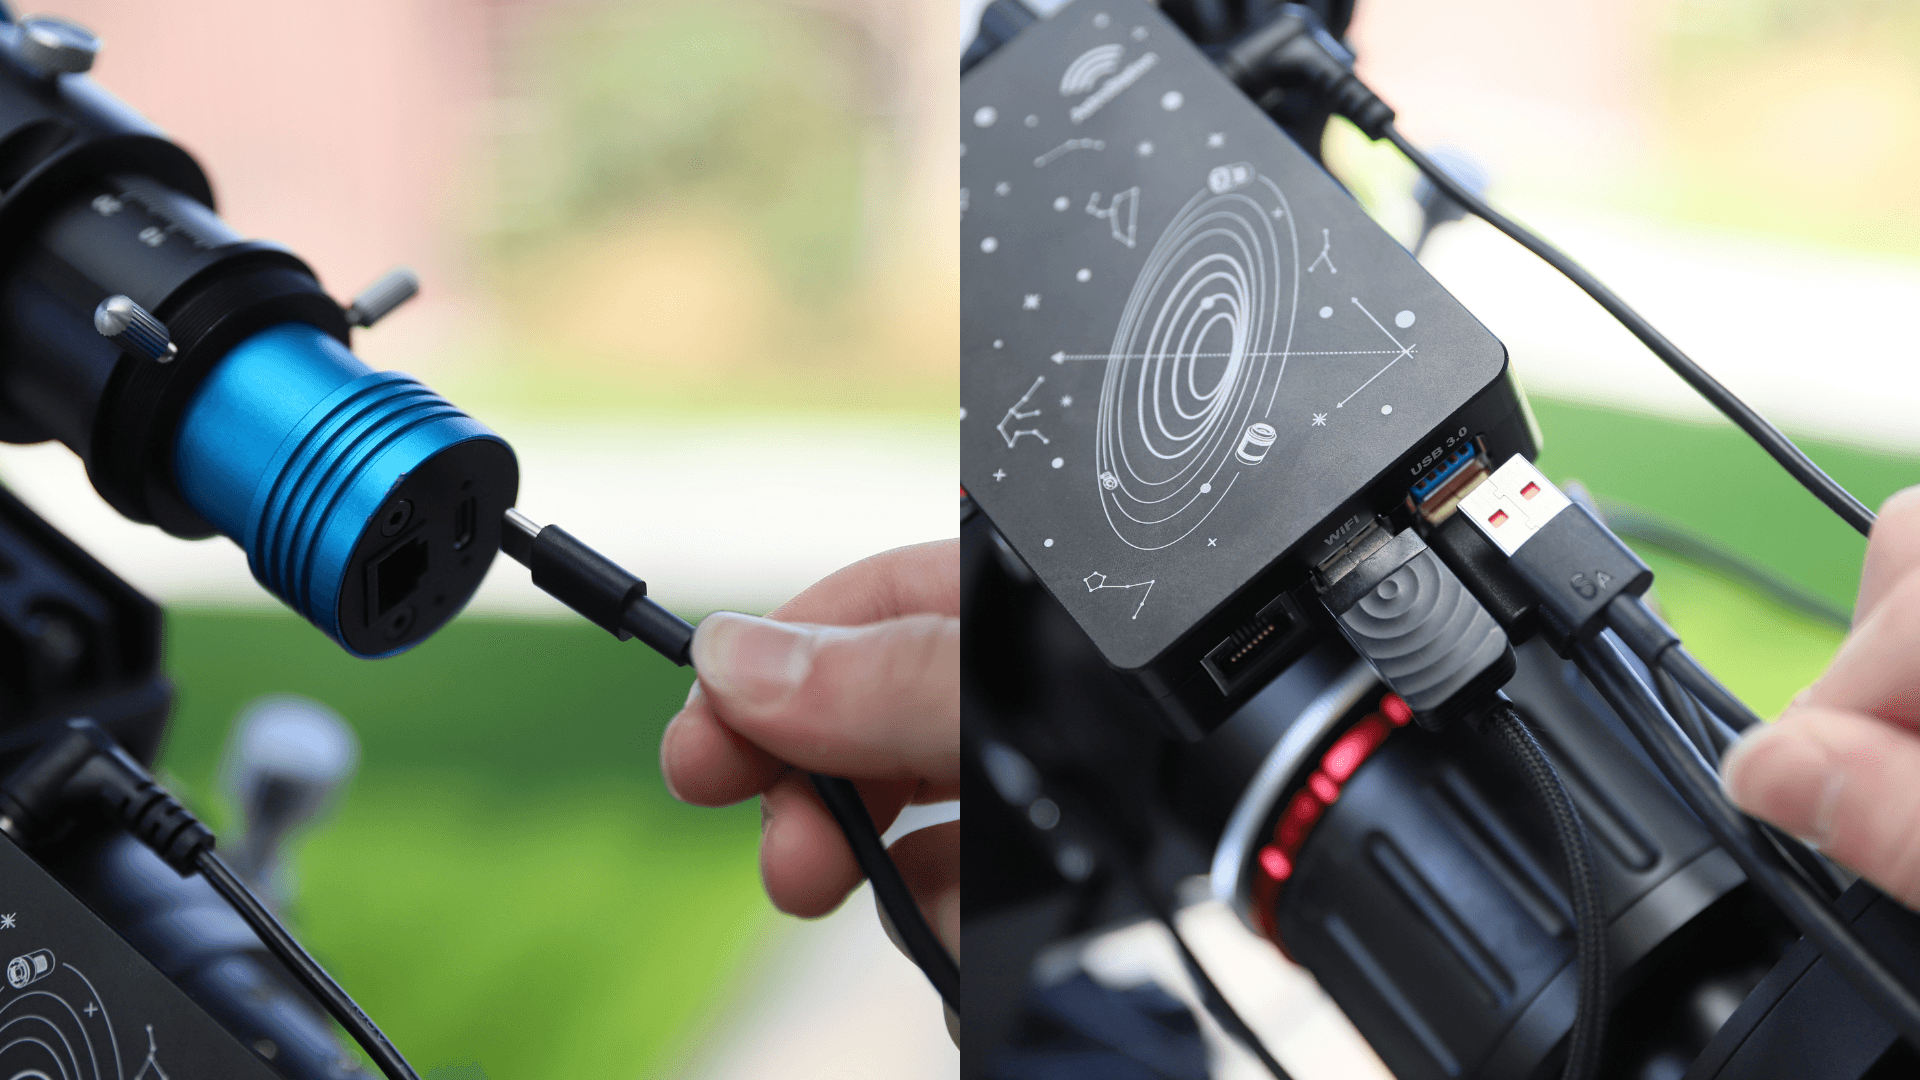
Power Supply Connections
Use a DC cable to connect the camera's DC input port and StellaVita's DC output. Then StellaVita will power the main camera.
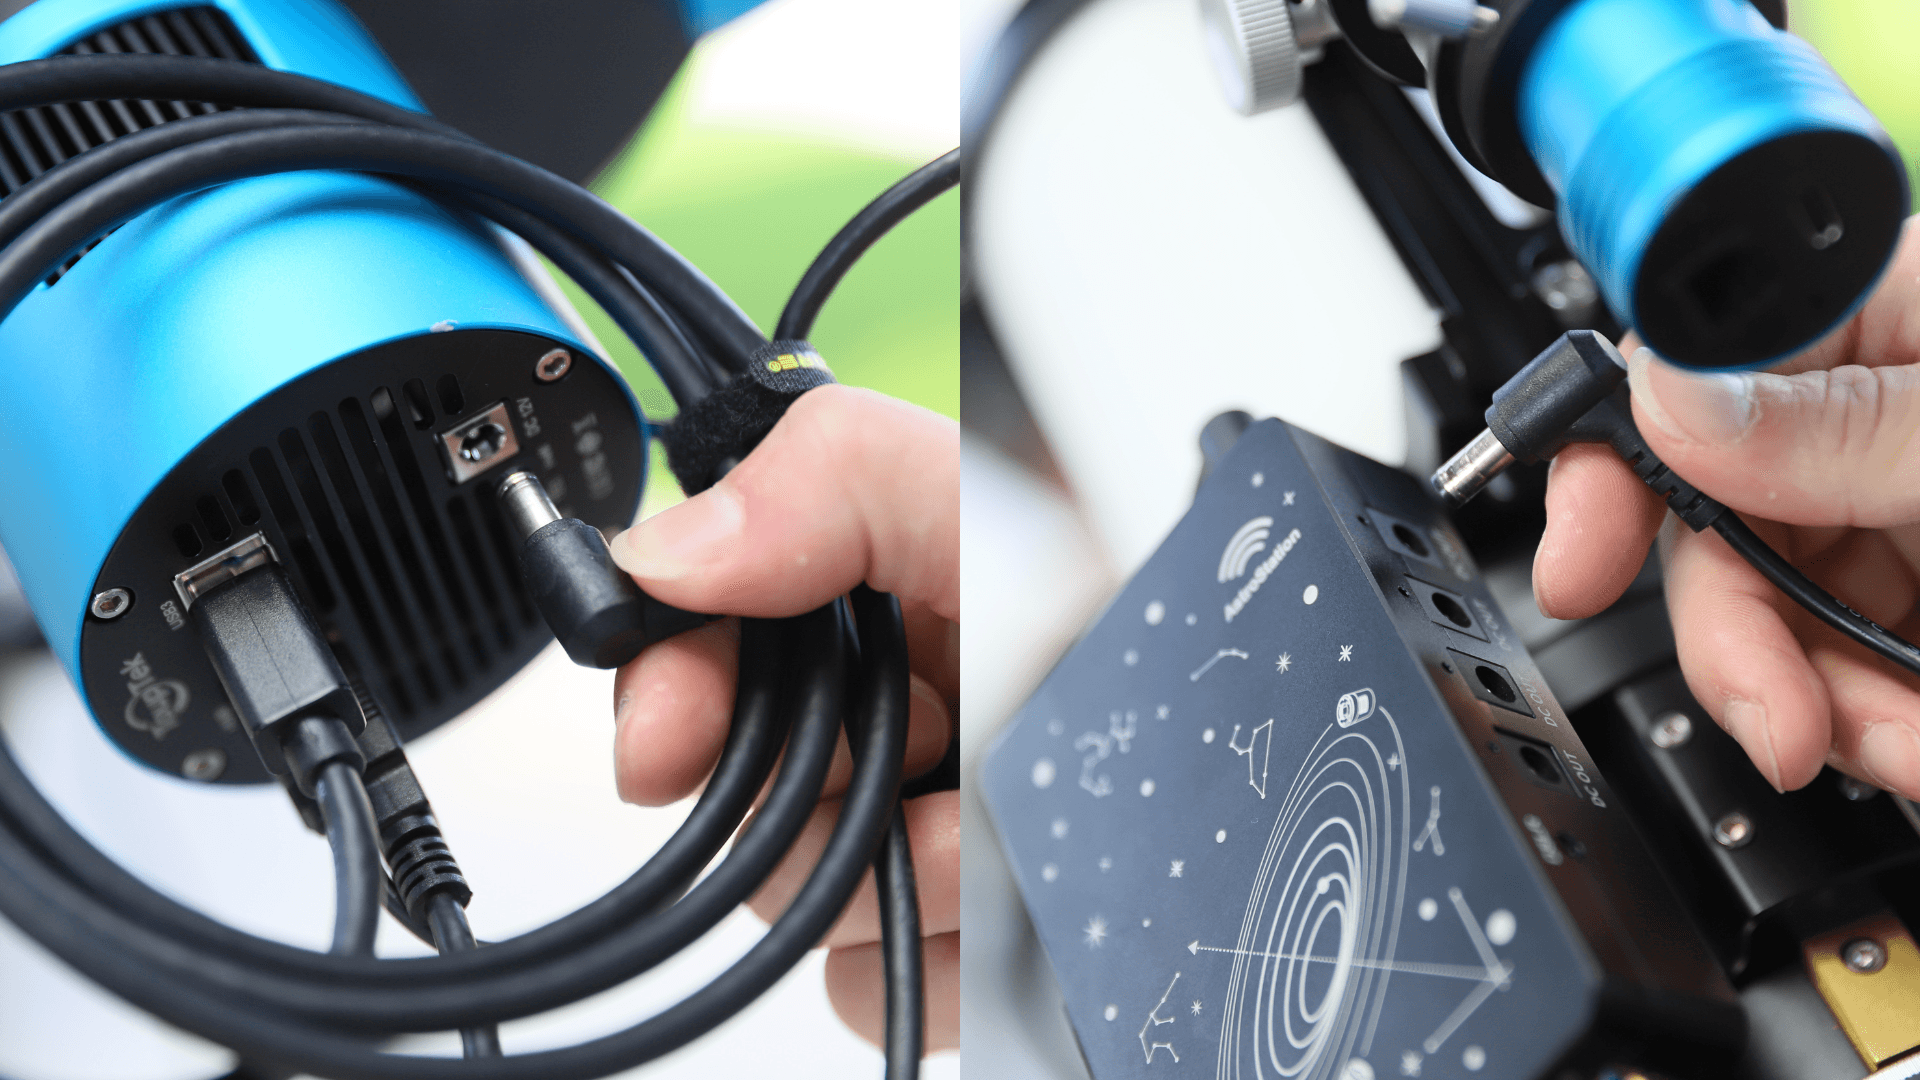
Use a DC cable to connect the equatorial mount's DC output port and StellaVita's DC input port. Then the mount will power StellaVita.
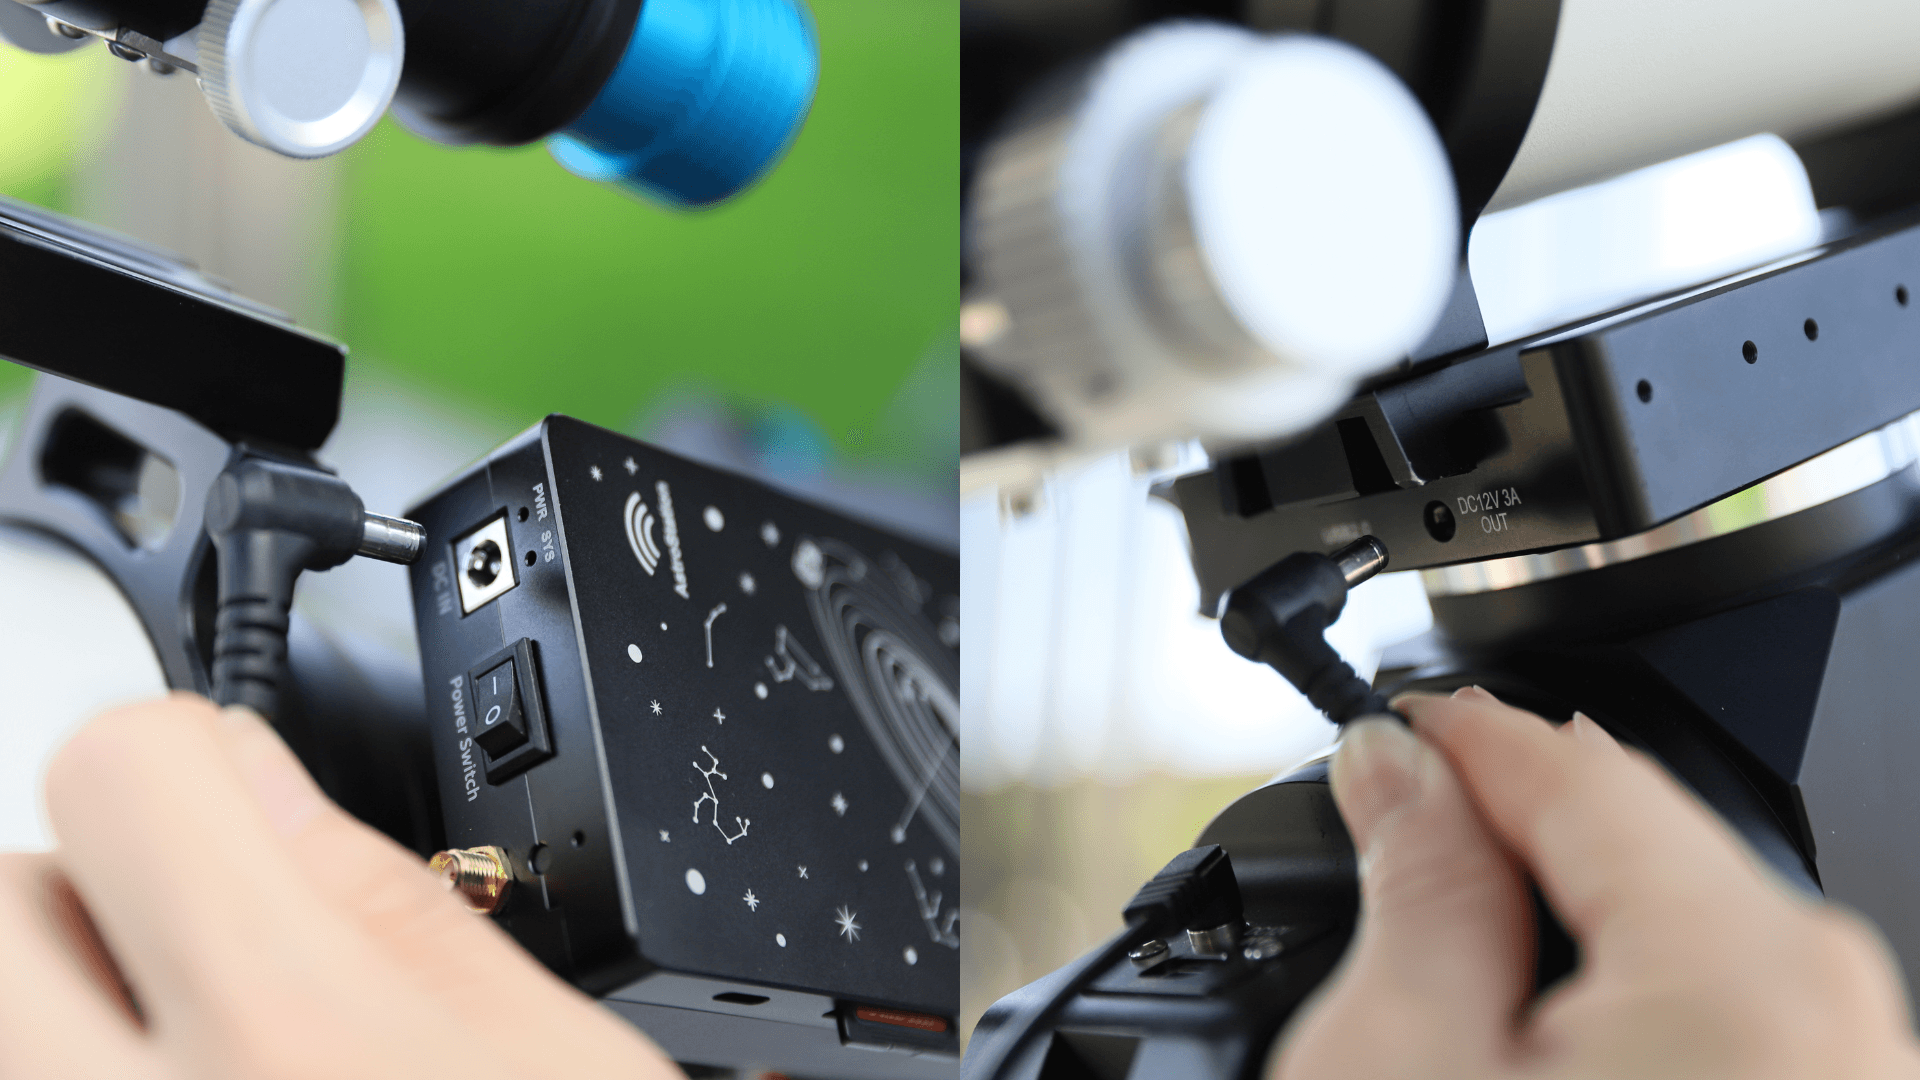
Finally, connect the equatorial mount to the power supply.
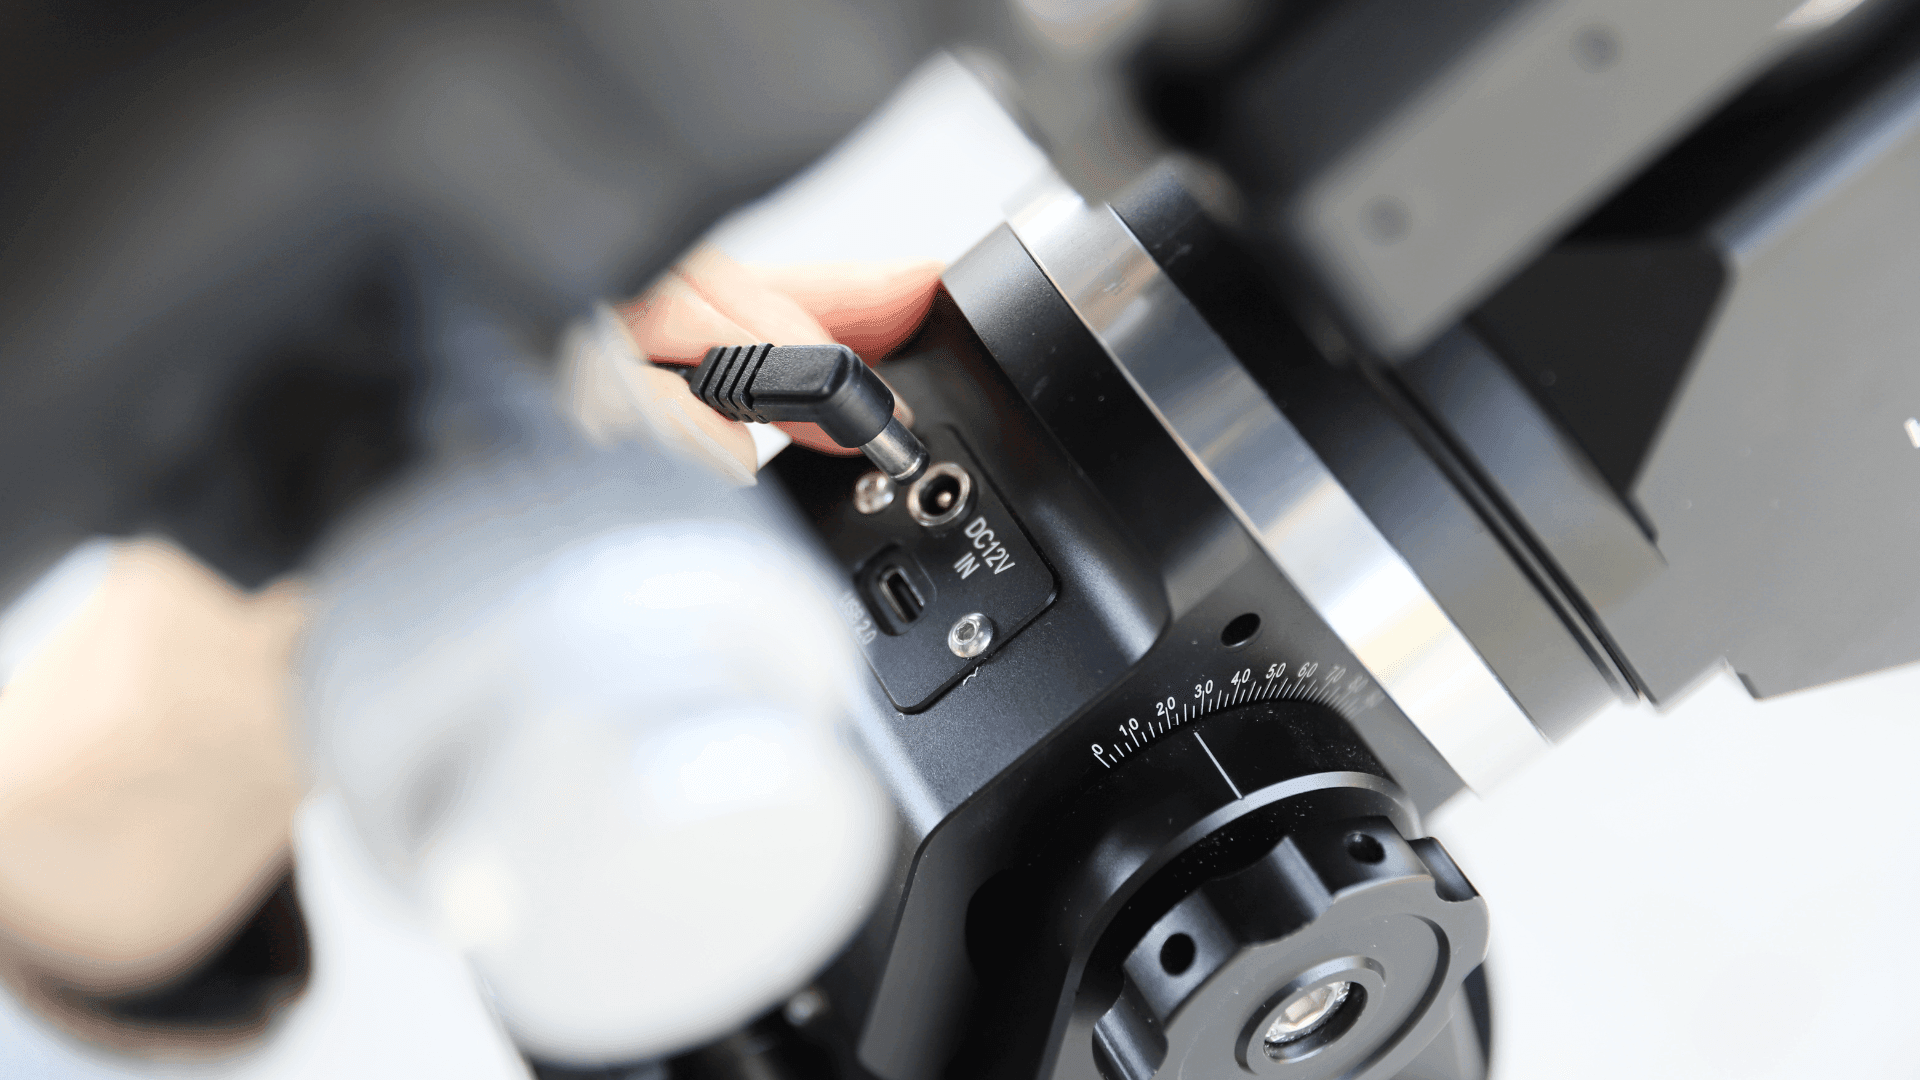
Important
- A 12 V DC power supply with sufficient power output is required. 12 V 5 A or above is recommended.
- StellaVita consumes approximately 3-4 W in standby mode, which is very low. However, when using StellaVita to manage power for other devices, please confirm that the input power is sufficient for the other devices and is within StellaVita's rated power limit. If the input power is insufficient, it could lead to repeated reconnections or disconnections of devices.
We want to express our sincere gratitude to all ToupTek Astro fans and astronomy enthusiasts for your anticipation of StellaVita. If you have any questions regarding use or connections, feel free to consult ToupTek Astro technical support through tpa-support@touptek.com.
Share your images, interact with fellow astronomy enthusiasts, get technical support, and enjoy exclusive fan benefits. More benefits await you in the official Facebook user groups. We look forward to your arrival.
Product Page: StellaVita